Download & Sign-In DD Digital App
1. Download DD Digital App from Play Store or Just Scan QR to Download App
2. Sign In with your registered mobile number.

Follow these steps to complete device setup.
1. Download DD Digital App from Play Store or Just Scan QR to Download App
2. Sign In with your registered mobile number.
1. Download DD Digital App from Play Store or Just Scan QR to Download App
2. Sign In with your registered mobile number.
1. Connect Device to the power source.
2. Connect speaker(2w max) or via amplifier
3. Connection port - direct or via AUX.
1. Connect Device to the power source.
2. Connect speaker(2w max) or via amplifier
3. Connection port - direct or via AUX.
1. Enter Your Pin by default which is last 4 digits of your registered mobile number.
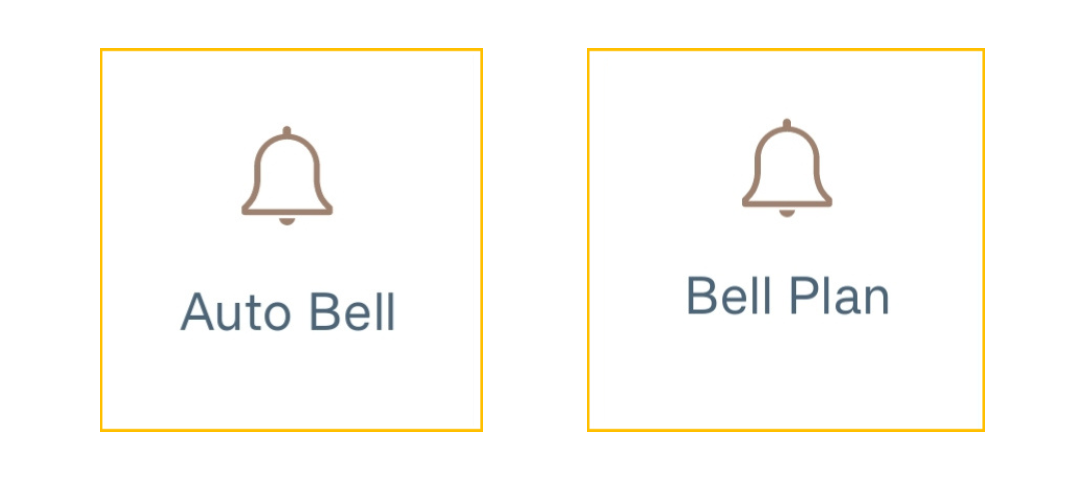
2. Tap "Auto Bell" Module.
3. Open "Bell Plan".
1. Enter Your Pin by default which is last 4 digits of your registered mobile number.
2. Tap "Auto Bell" Module.
3. Open "Bell Plan".
1. Select the created Bell Plan.
2. Tap on "Sync to device" button.
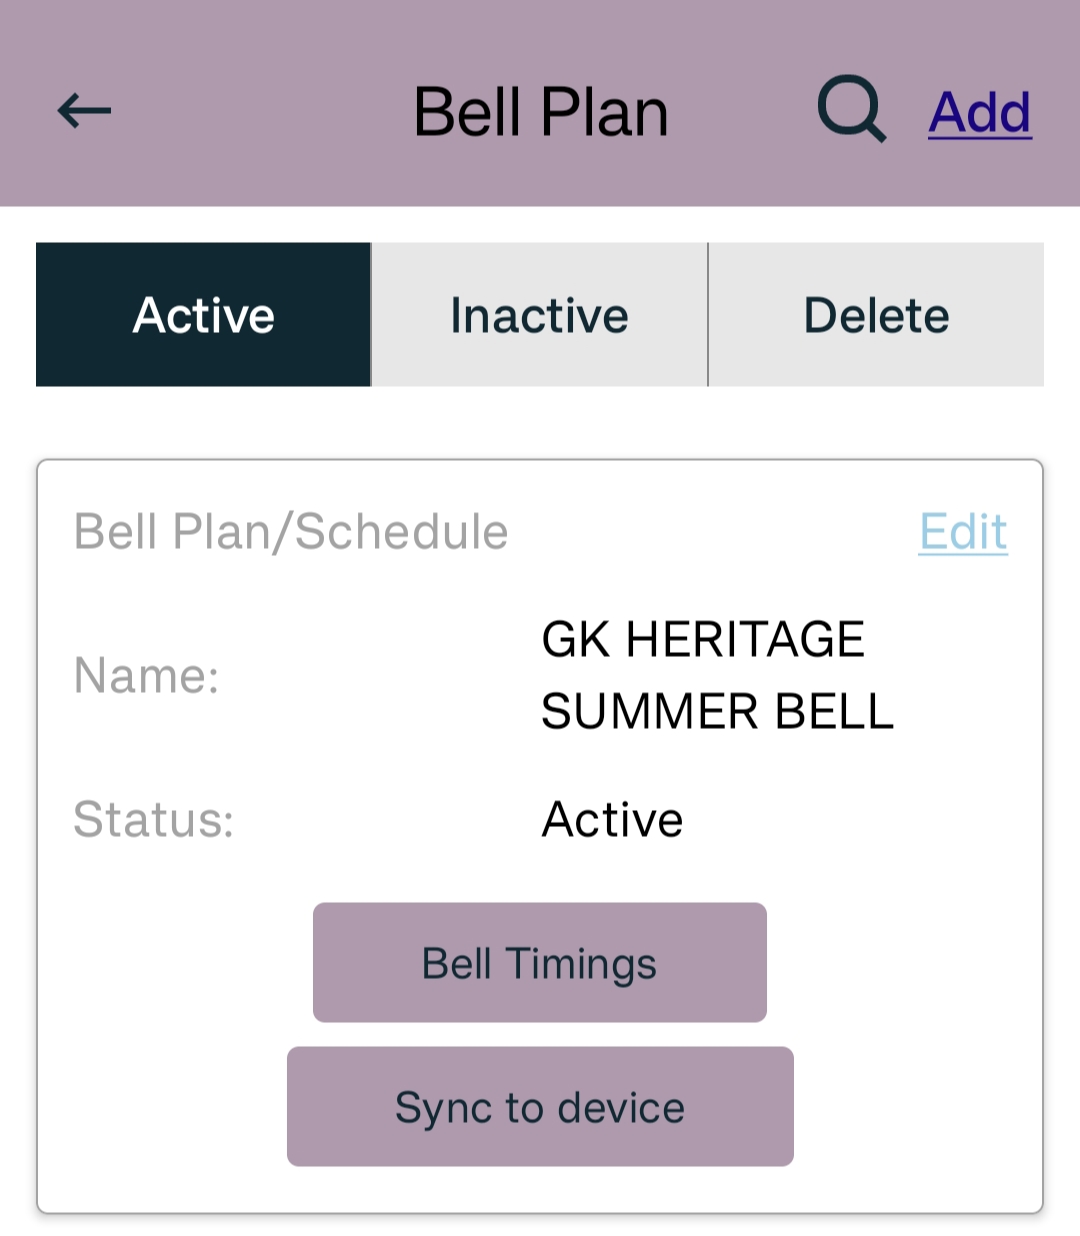
1. Select the created Bell Plan.
2. Tap on "Sync to device" button.
Bluetooth, Location, and Notifications
1. Turn On Bluetooth in mobile.
2. Grant scan near by devices permission.
3. Grant location permission.
4. Allow WiFi permission.
Bluetooth, Location, and Notifications
1. Turn On Bluetooth in mobile.
2. Grant scan near by devices permission.
3. Grant location permission.
4. Allow WiFi permission.
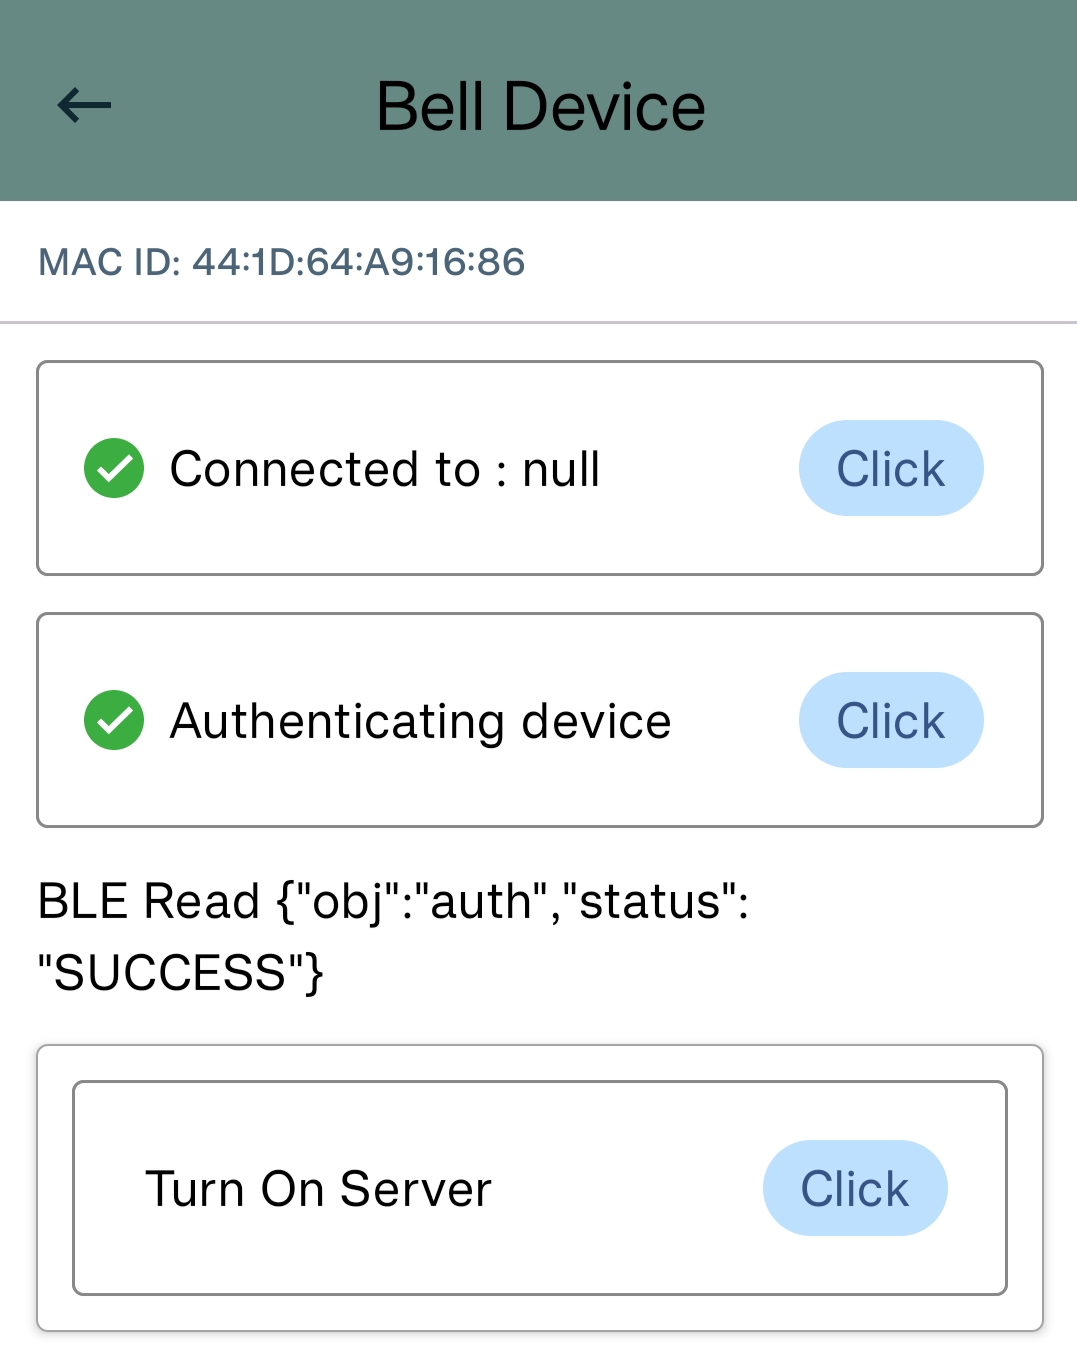
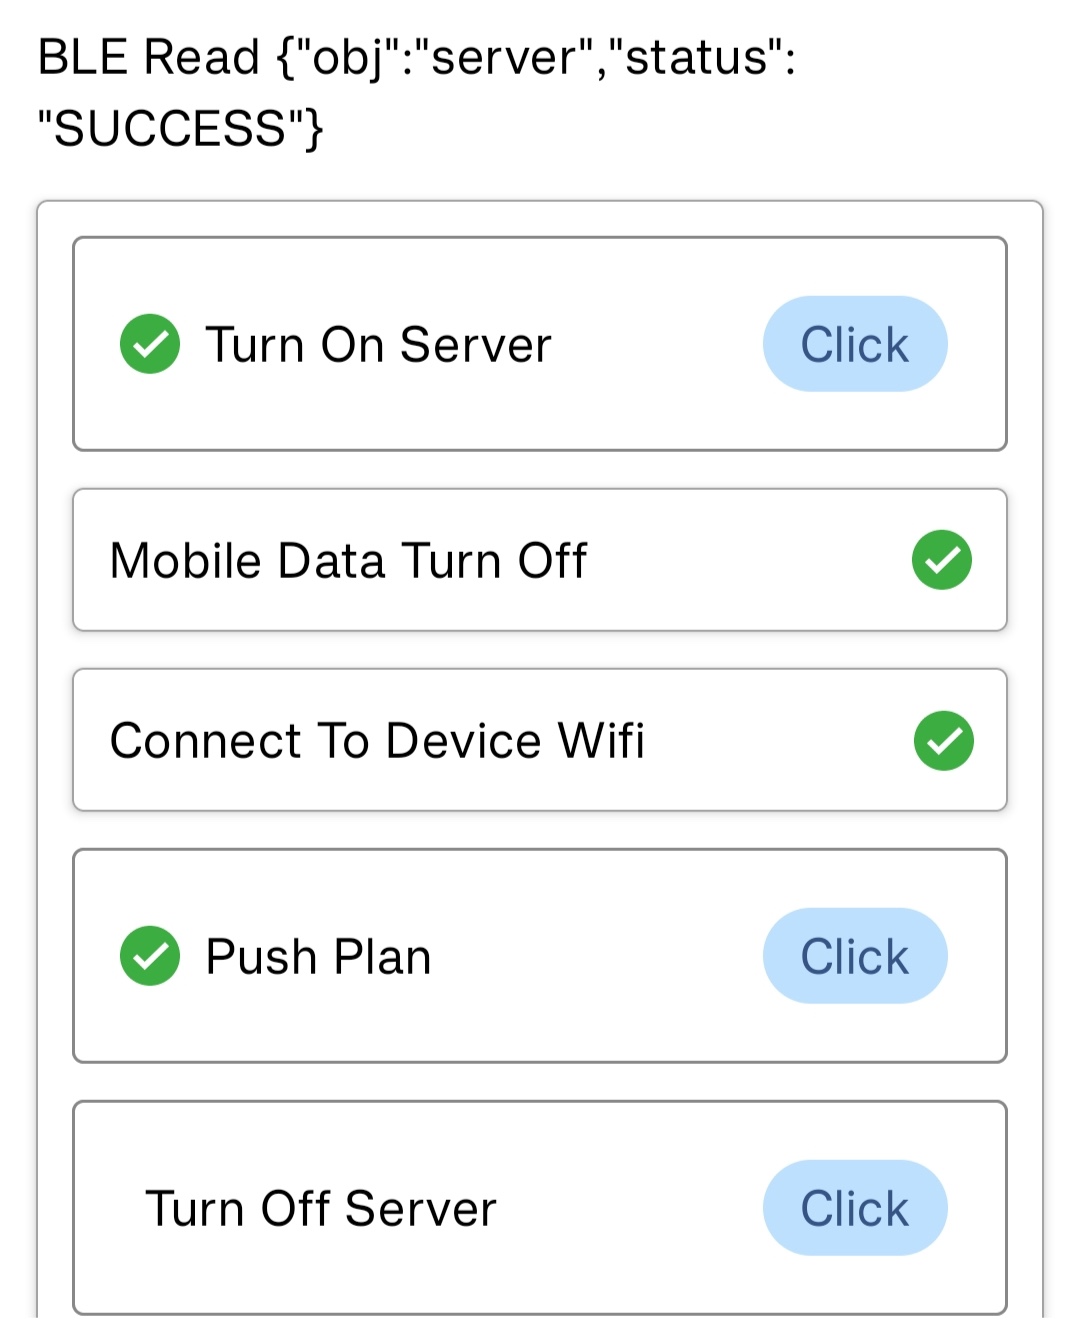
1. Tap on "Turn On Server".
2. Connect to school bell wifi from mobile.
3. Turn off Mobile data.
4. Tap on "Push Plan".
5. After successfully pushing plan Tap on "Turn Off Server".
1. Tap on "Turn On Server".
2. Connect to school bell wifi from mobile.
3. Turn off Mobile data.
4. Tap on "Push Plan".
5. After successfully pushing plan Tap on "Turn Off Server".
